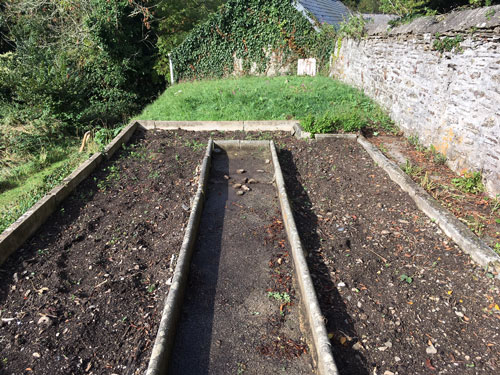
Well, my veg patch feels a bit sad at the moment. It needs some TLC as I just haven’t had time to get out there recently. Luckily, I am all planted up for autumn in a few beds, but the other beds need some clearing, and I have plenty of weeds taking over the woodchip on the pathways. All is not lost though, as this is a really good time of year for adding a thick layer of mulch, and for composting. I’ll get onto the mulching this weekend so that both the empty beds and autumn beds are well topped up. Later in the week, I’ll likely pull up the weeds and add a whole heap of stuff to the compost pile. Next spring, I’ll be laying fresh woodchip on the paths, so that’s fairly easy to remedy. With these three fairly simple steps, the veg patch should be pretty good to go next year without too much effort.
This is the beauty of no-dig gardening – it keeps everything very straightforward, so that even in those moments when the garden seems to get out of control, it is all easy to get back on top of. With no-dig at the front of my mind this weekend, here’s a bit of an intro for those who are keen to give it a try.
Why to choose no-dig
The very basic principal of no-dig growing is to heavily mulch in order to supress weeds and maintain soil health, rather than digging over beds.
The no-dig approach is a really good one if you want to really look after your soil and help it to replenish itself. It’s incredibly simple and within a couple of seasons you should notice the change in your soil quality and in the veggies that you’re growing. I think it is particularly good if you’re starting a new plot from scratch, if you have an ongoing battle with weeds/pests/disease, or if you’d like your garden to involve a little less work and time.
What is no-dig?
Essentially, the no-dig approach is what it says it is – it’s an approach to gardening that involves NOT digging. Instead, you leave the soil as undisturbed as possible (as this is how it creates the almost invisible eco-systems that it needs to maintain its health and texture) and mulch heavily each season.
From my own experience and learnings, the best things to mulch with are either well-rotted manure (but be careful that you know where it comes from and that the animals have fed in fields that are not infected with weedkillers) or compost. You’ll need quite a bit to get started in the first year, but thereafter you won’t need quite so much.
How do I go no-dig?
To get going with the no dig method is quite straightforward, and even if you didn’t intend to continue with no-dig in the future it is a very quick and easy way to set up a new bed/plot.
Step 1 – pull up any ‘tough’ weeds – docks, brambles etc – but you can leave other weaker weeds and grass in situ.

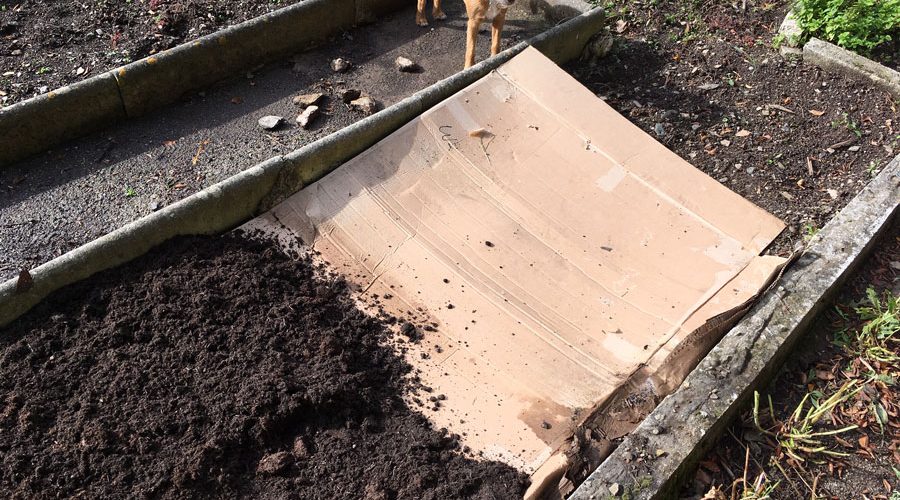
Step 2 – cover the beds with cardboard (staples/tape removed)
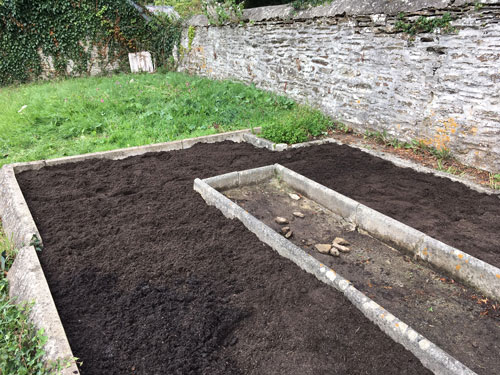
Step 3 – cover the cardboard with a thick (10-15cm) layer of compost/well rotted manure
Step 4 – plant your plants straight into the compost in spring
Step 5 – hoe regularly to keep weeds down (gently pull up any that slip through the net trying not to disturb the soil too much) and top up the beds with a thinner layer (3-5cm) of compost the following autumn (or a little thicker if you find weeds have been more of a problem than anticipated)
Honestly, it is so straightforward and quick to get going. I really recommend it. It can be a little pricy in terms of buying compost, but well worth the investment in the long run and will save you hours of weeding etc.
If you already have plants in place, you can simply work around them, either laying cardboard between rows before mulching, or just topping up weed-free beds with your compost.